The aim of this project is to create a 3D digital reconstruction of a TS26 mouse embryo from serial histological sections. This is part of a larger project digitally reconstructing each mouse embryo Theiler stage for use in a visual gene expression database. The process of reconstruction involves:
(Click on images to get full sized images)
Digitising
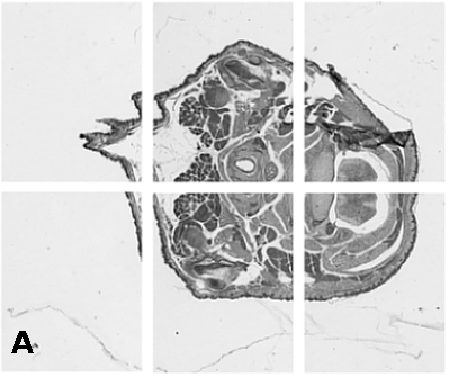
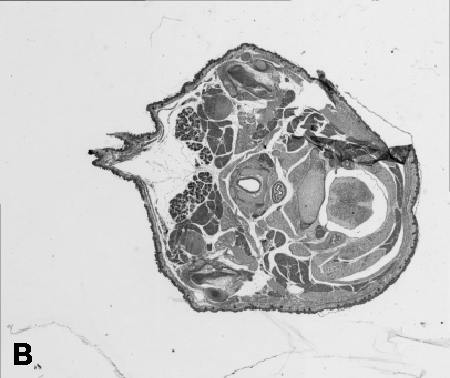
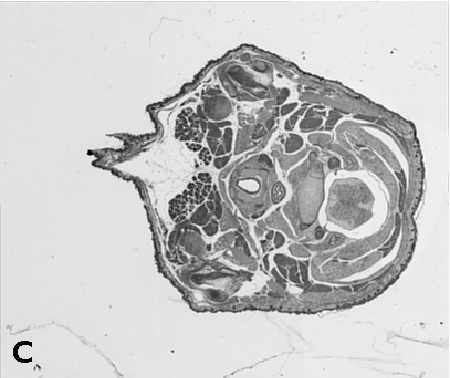
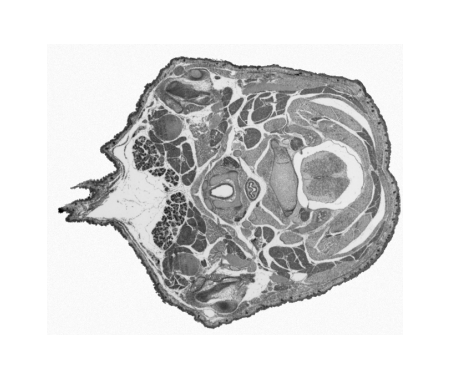
Digitising involves digitally capturing each embryonic section. This embryo was captured at a magnification of x2.5 using the Leica Qwin system in Stevenage. Each section is made up of series of up to 12 separate images (Fig. 1a). After going through an automatic patching process the full section image can be seen (Fig. 1b). Due to defects caused by the sectioning process the images require digital correction using graphical software (Fig. 1c). Figure 1d shows a final section. Here the grey level image has been cut out from the background and a random background added (mean = 250, S.D. = 3) using the Mouse Atlas software. This image has been subsampled by 2 to give a final pixel size of 10.4 x 10.4 microns.
| Figure 1: This figure shows the process involved from capturing the digital images (a), to patching them together (b), to digitally repairing them (c) and finally adding a random background to give the final set of sections used in the actual 3D model. |
| Reconstruction |
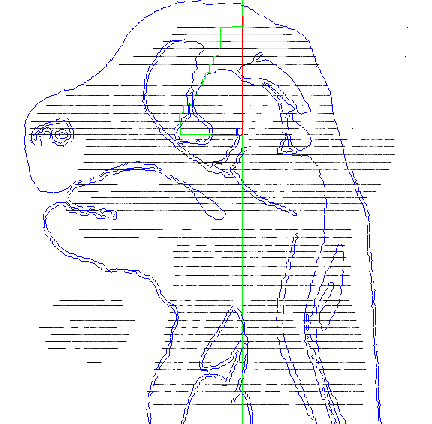
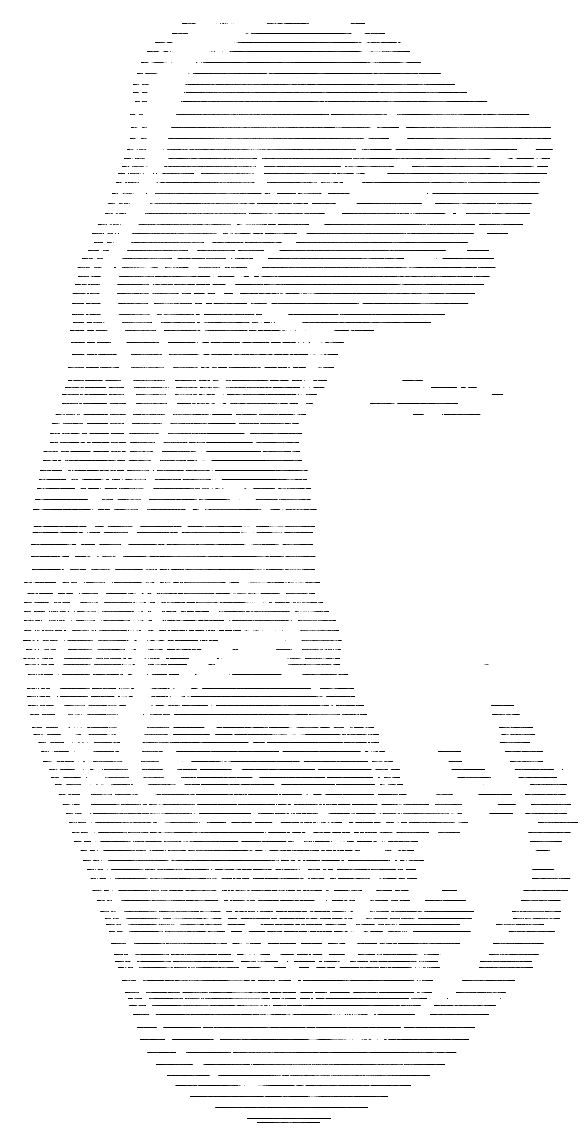
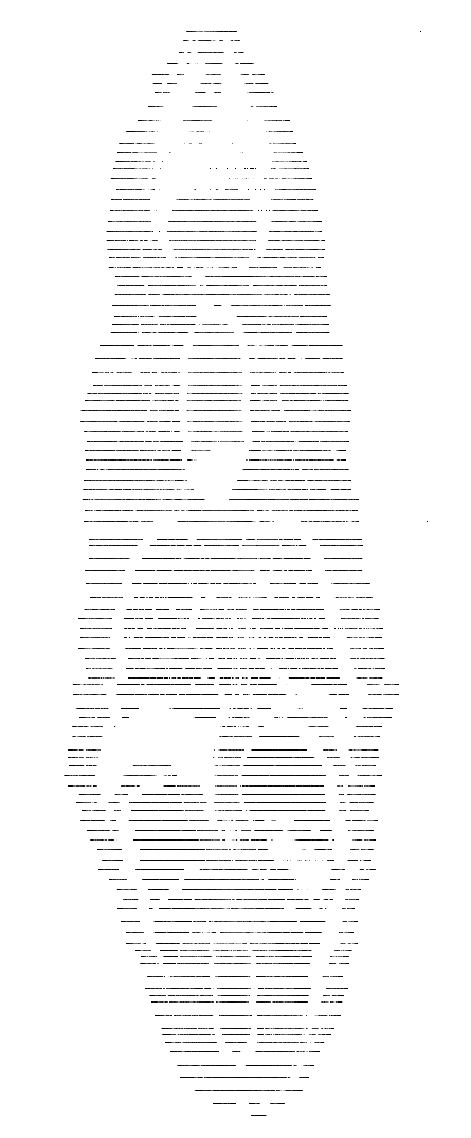
The reconstruction process builds up the 2D digital sections into a 3D stack that can be digitally cut in any direction to produce a representation of a true mouse embryo section. The original sections are transverse. Simple pairwise registration of the images will not, in general, recover the embryo shape. Furthermore, deformation of the sections, mean that perfect alignment cannot be achieved. We therefore define key sections which are aligned to a shape template in 3D and then fill the gaps by a process of automatic alignment and warping. Approximately every 20th section (a key section) was taken to make a skeleton 3D embryo and each of these sections individually transformed in the x and y plane to fit a frontal and sagittal template. Figure 2 shows the process and Figure 3 the final best fit results.
| Figure 2: This figure shows the alignment of the key sections to the blue sagittal template. The green line shows the transformation of the sections to fit the template. |
| Figure 3a: This is a sagittal view of the final alignment. The key section skeleton went through 40 iterations of manual alignment to get the best fit. | Figure 3b: A frontal view of the same object and transformations. The voxel size at this stage is approximately 20 x 20 x 14 microns hence the elongation of the model. |
From the key section model the missing sections are put in between. This is achieved by
reconstructing the data in blocks using a key section at the top and bottom of each block.
Every second section in the model is actually a key section the ones in between are alignment
sections to give a better overall shape of the embryo. The final 3D model is constructed from
the union of each of these blocks. In this embryo 56 key sections were chosen at stages where
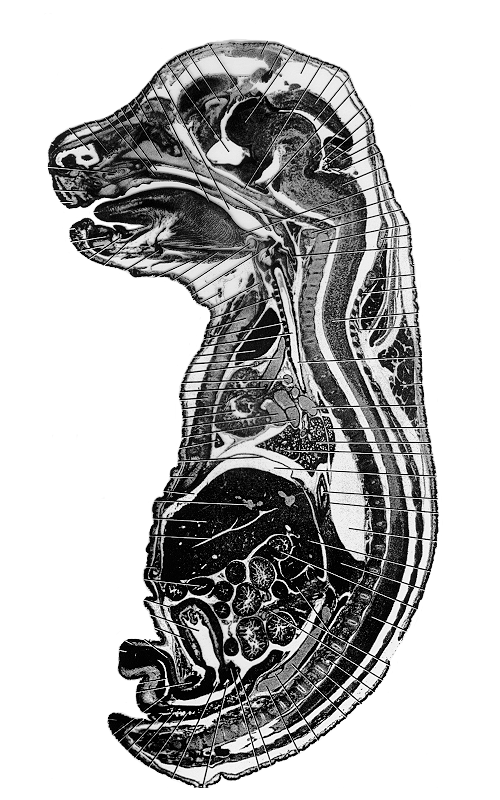
there was considered to be a significant change in the anatomy of the sections. Figure 4 shows
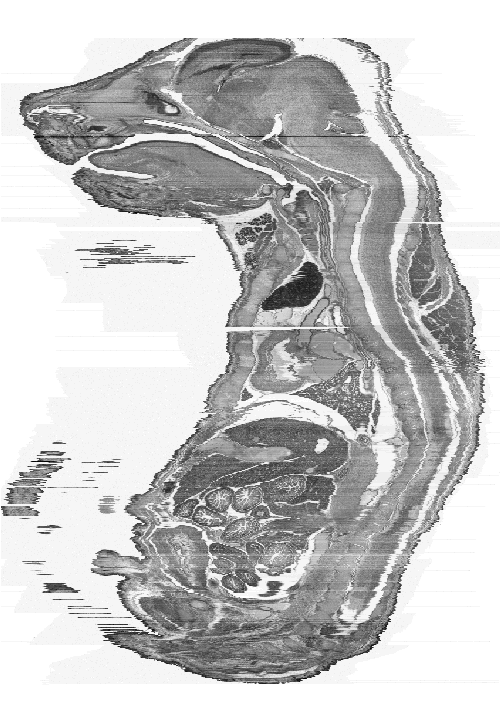
an actual sagittal section taken from a similarly aged mouse embryo. In comparison Figure 5
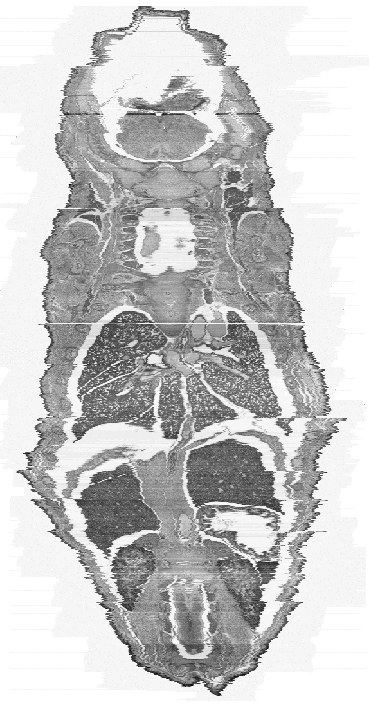
shows a sagittal (a) and frontal (b) view of the current constructed 3D model. There are
obvious distortions in the image but the organs and internal structures can clearly be seen
and are comparable with the section in Figure 4.
| Figure 4: This figure shows an original sagittal section of a similarly aged mouse embryo. | Figure 5a: This is a sagittal view of the full 3D model. Every 2nd section has been used to make the object a more manageable size (~400MB). |
| Figure 5b: This is a frontal view of the full 3D model. The voxel size of the model is now approximately 13.3 x 13.3 x 14 microns to give a more realistic looking mouse. |
Figure 5 shows that there is missing information and angle changes in the data due to the
sectioning and histological processing. It is hoped to correct these using other specimens
(particularly the brain region) and imaging techniques (angle changes in the upper body
regions). By using warping techniques developed at HGU the aim is to smooth the data to give
a more representative shape of the embryo and remove the jagged distortions. The key sections
remain static throughout acting as anchor points during this process. The full size model will
be x2 in the x, y and z planes hence in full resolution the model will 23 x 400 = ~3200MB. At
the moment this is an unmanageable size of data but with ever increasing advances in
technology this should soon be a manageable size.
Painting
When completed the embryo will be painted. This involves delineating the anatomical
structures into separate 3D domains. The domains are linked into an anatomical database. A
search engine allows queries to be made and the anatomical structures to be identified on the
3D model. Figures 6 and 7 show examples of TS26 painted sections. The colours show the
boundaries of each domain. Each transverse section will be individually painted by a
combination of manual and automatic painting tools being developed at HGU and Glaxo Wellcome
(Anne Danckaert).
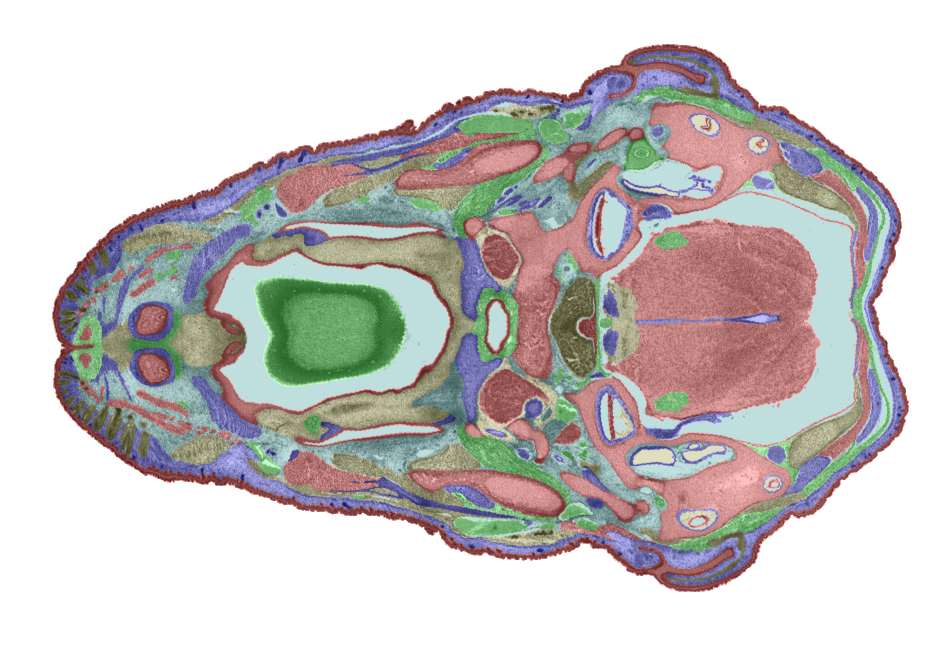 |
Figure 6: An example of a painted section through the mouth and hind brain. |
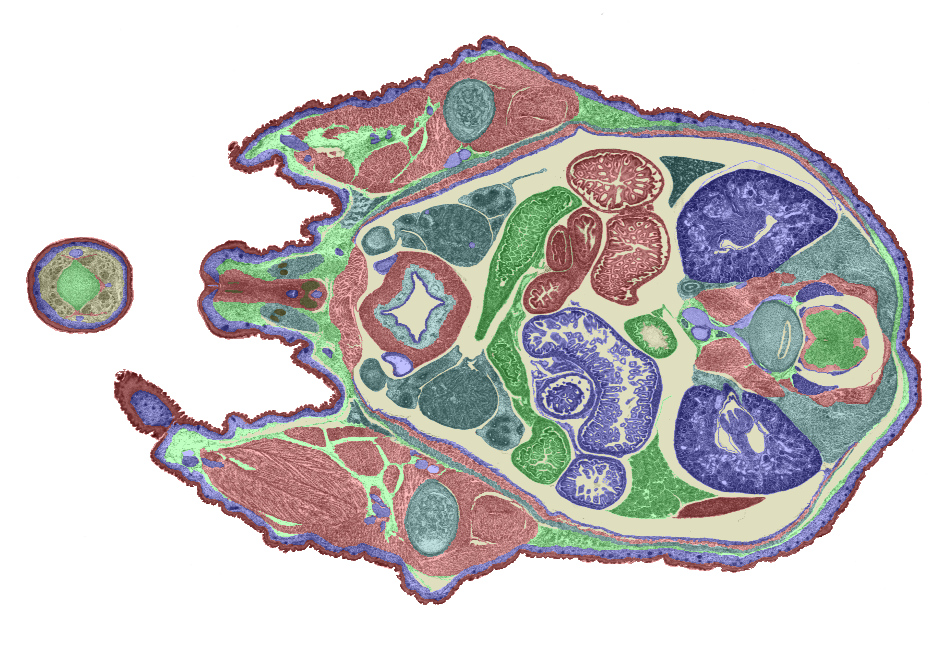 |
Figure 7: Another example of a painted section through the lower abdomen. |
Written by Kirstie.Opstad
28th March 2000


